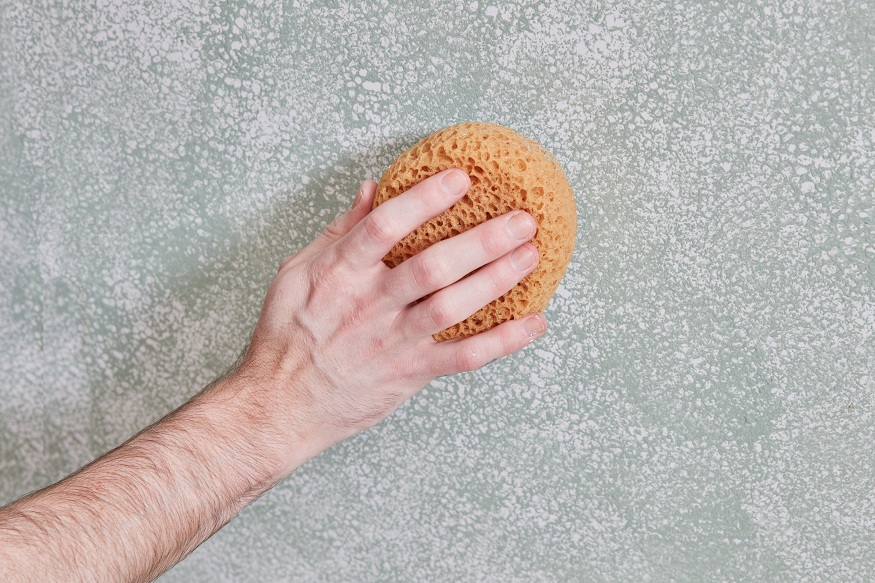
Sponge painting, a remarkable technique that takes ordinary walls and transforms them into extraordinary artistic canvases. With its roots dating back to ancient times, this method offers a unique touch to room painting projects. Not only does sponge painting add depth and texture, but it also brings a versatile palette that can be customized to fit one’s creative desires. Don’t just paint your walls, texture them with the magic of sponge painting and let your home echo your creativity.
| IN THIS ARTICLE
Gathering Materials and Preparing the Room |
Gathering Materials and Preparing the Room
- Gathering Materials: Start by making a list of all the necessary materials for your sponge painting project. This includes not only your paints and sponge but also plastic sheets or drop cloths, painter’s tape, paint rollers, trays, and a ladder. Depending on the size of your room and the complexity of your project, consider consulting with a house painting expert to ensure you have everything you need.
- Preparing the Room:Beforepainting, take the time to thoroughly prepare your room. Remove any artwork, mirrors, or wall hangings, and relocate furniture to the center of the room or out of the room completely. Use the painter’s tape to protect window frames, door frames, and baseboards from accidental paint splatters. Cover your furniture and flooring with the plastic sheets or drop cloths you’ve gathered.
Choosing Colors and Creating a Design Plan
Now that your room is prepared, it’s time to finalize your color scheme and design plan. When selecting colors, consider the mood and atmosphere you want to create. Light, bright colors can open a space and make it feel larger and airier, while darker, richer tones can add a sense of coziness and sophistication. You’ll need at least two colors – a base coat and a topcoat. The base coat usually is a lighter shade, and the topcoat that you’ll sponge on can be a complementary or contrasting color. Consider using a color wheel to help with your selection.
Different sponge room painting techniques
- Multicolor Blending: This is a fascinating sponge painting technique that involves using a variety of colors. Start by selecting three to four harmonious colors. Apply the lightest color as your base coat. Once the base coat is dry, take your sponge and begin applying the next color, dabbing it lightly over the base coat. Repeat the process with the remaining colors. This technique can create a fascinating, blended finish that adds depth and texture to your room, making it a conversation piece for everyone, including your house contractor.
- Ombre Effect: Ombre sponge painting is all about creating a gradual blend of colors, transitioning from light to dark or vice versa. Choose two colors: a light and a dark shade. Apply the lighter shade as your base coat. After it’s dry, begin at the bottom of the wall with your darker color, gradually blending it into the light shade as you move upward. The result? A stunning ombre effect that adds a touch of elegance to your room.
- Geometric Patterns: If you’re a fan of modern art, geometric patterns might be the perfect choice. Start with a base coat of your preferred color. Once that’s dry, use painter’s tape to create geometric shapes on your wall. Begin sponge painting inside these shapes with a contrasting color. Peel off the tape once the paint is dry for a striking, modern look that’s sure to impress any house contractor.
After your walls have fully dried, consider sealing your work with a clear, protective finish. This will ensure your beautiful new walls stand the test of time.
Sponge painting truly offers endless possibilities for transforming your room into a masterpiece of personal expression. So, go ahead, unleash the artist within you, and let room painting with the help of sponge turn into an extraordinary expression of your unique style!

